How to Use PSFlow
1. Installation
- Download the installer for your operating system.
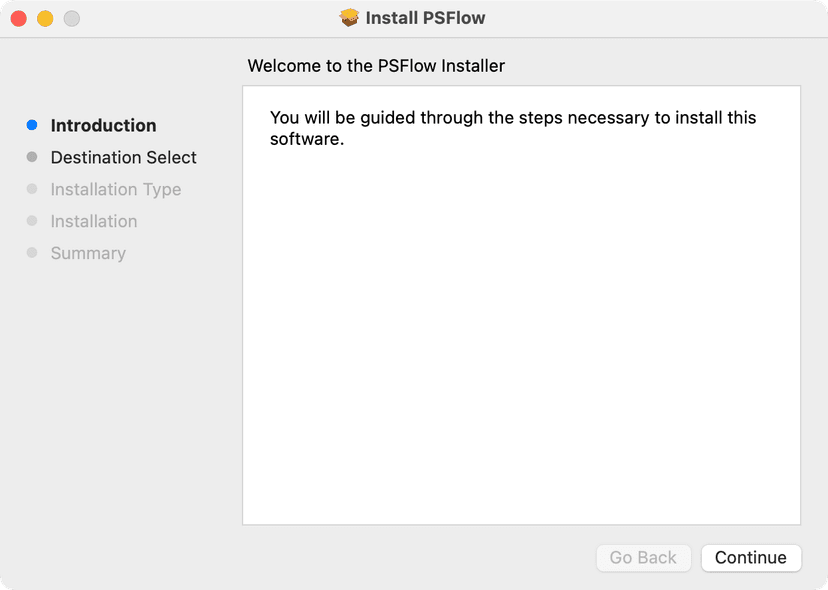
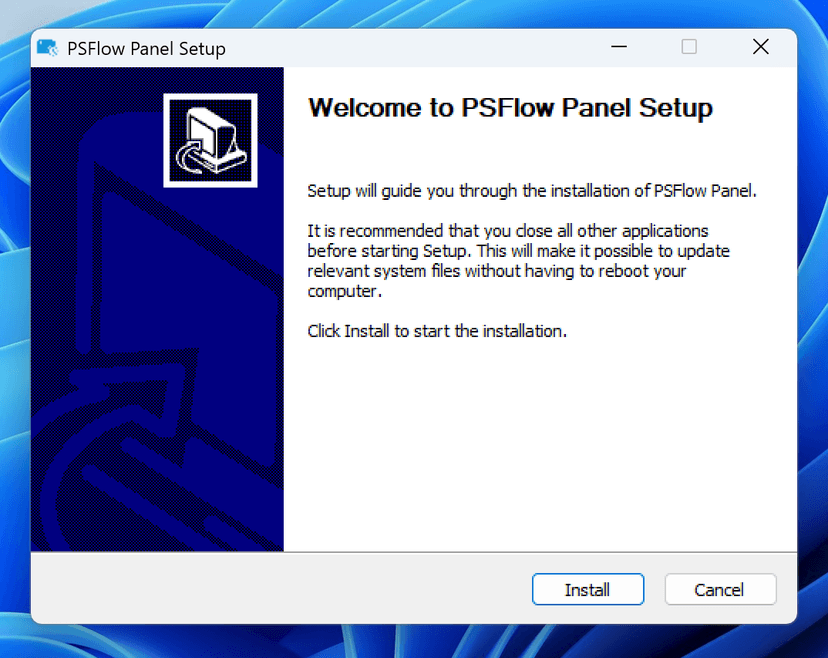
- Run the installer and follow the on-screen instructions.
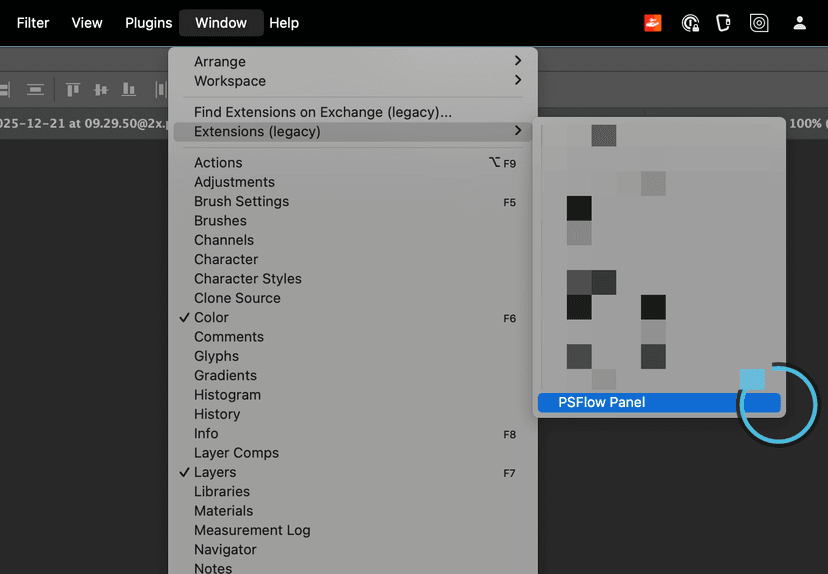
- Restart Photoshop if it was running.
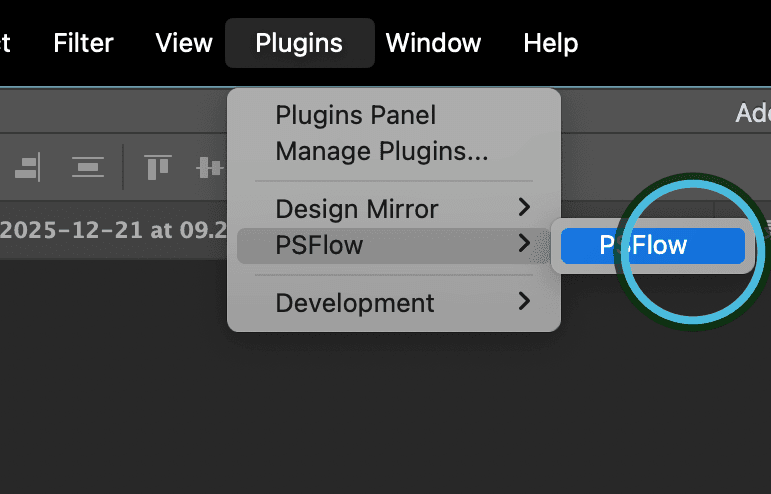
- You'll find PSFlow under Window > Extensions > PSFlow Or Plugins > PSFlow.
2. Recording Your First Timelapse
PSFlow is designed to be simple. Here's how to start:
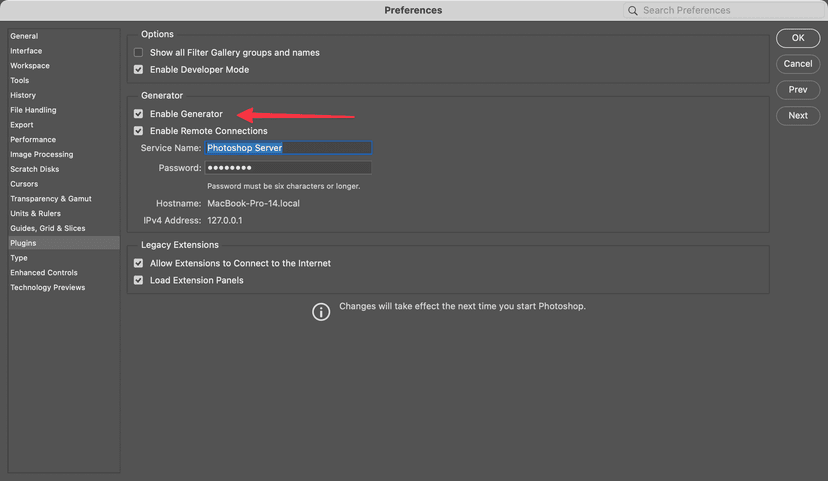
- Enable Generator in your Photoshop preferences.
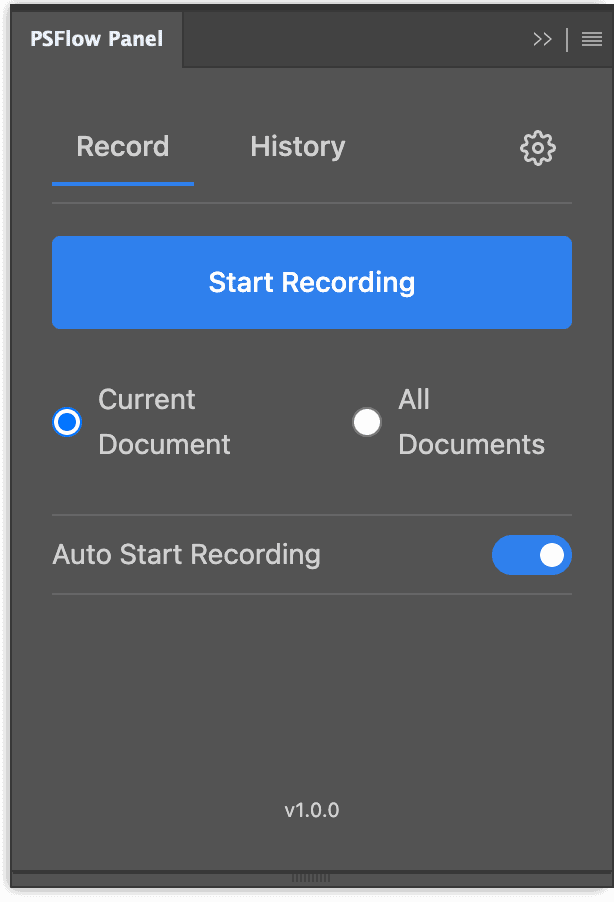
- Open the PSFlow panel in Photoshop.
- Click the big Record button.
- Start drawing! PSFlow will automatically detect your canvas changes. You can close the panel while painting; the plugin will continue recording silently in the background.
- When you're done, click Stop.
3. Exporting
Once you've finished recording, you can export your timelapse:
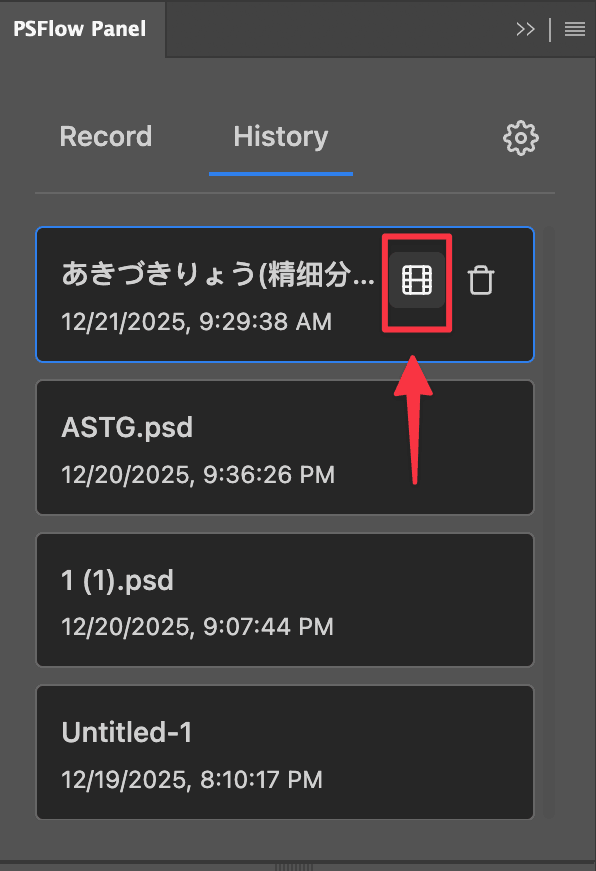
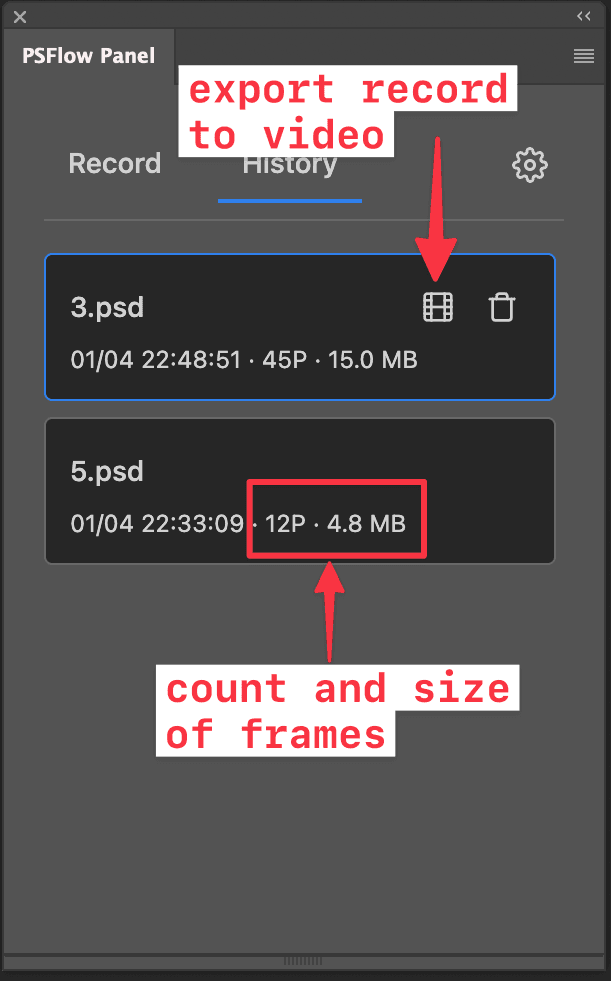
- Switch to History tab to find the record of your file.
- Hover the item and click the video icon.
- Select a target directory to output your video.
- The plugin will start export your recording to video format.
4. Settings
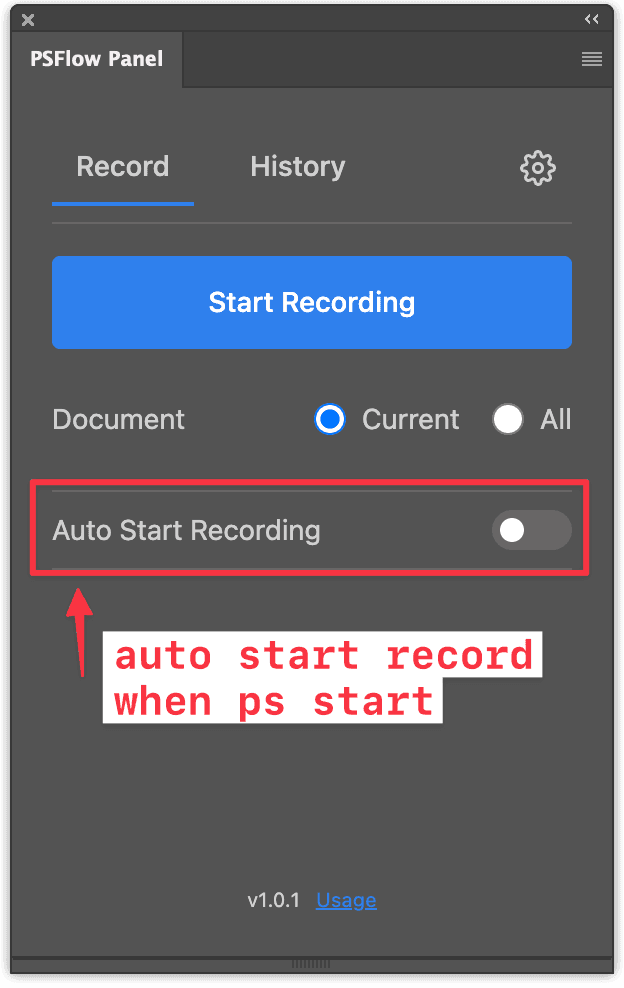
- Auto Start Recording: When enabled, recording will automatically start every time you launch Photoshop.
- You can check the recording frame count and size in the history tab.
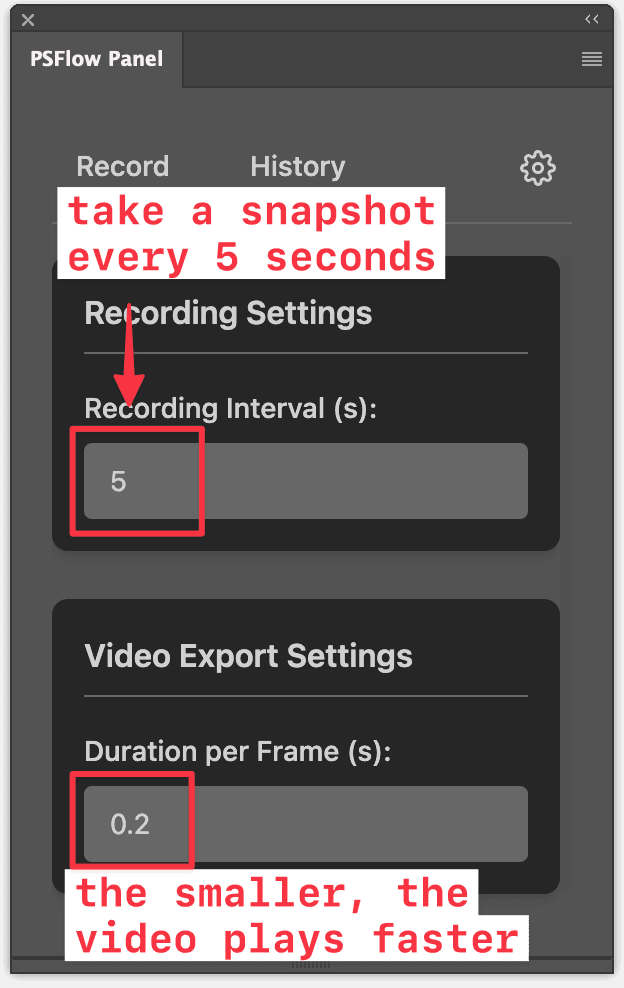
- Recording Intervals: This value specifies the minimum time interval for taking snapshots. This prevents capturing an excessive number of images during long painting sessions, saving storage space. Setting it to 0 means a snapshot is taken for every action.
- Duration per Frame: This sets the time interval between frames in the exported video. The smaller this value, the faster the video playback speed.